
22 Oct 2014 BY Katrina Tarrant POSTED IN
Exercise
Struggling to find the right exercise?
22 Oct 2014 BY Katrina Tarrant POSTED IN
Exercise
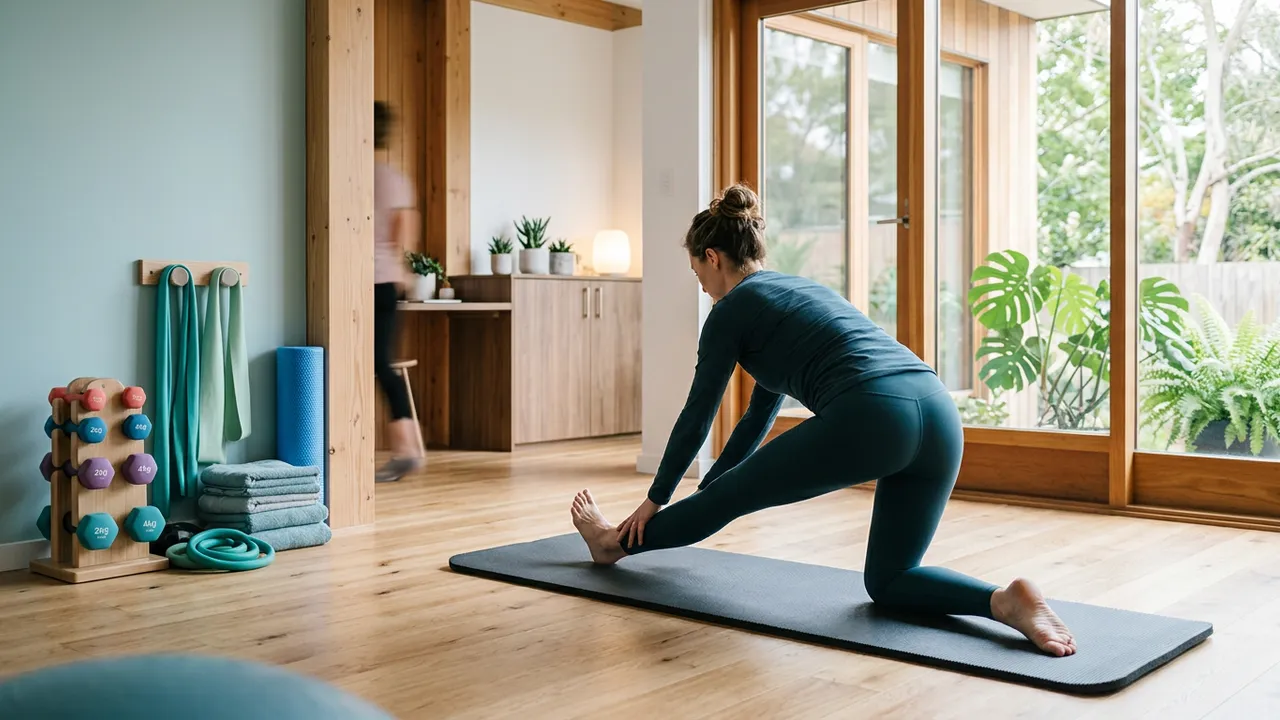
Lost focus? Do you ever feel that your exercise really isn't grabbing you? Are you bored with it? Not looking forward to the next session? Making excuses to avoid exercising altogether? We are all individuals and therefore the gym/running/getting sweaty is not for us all. So we all know the well doc...
Read More